If you’ve ever wondered how to stretch carpet with a knee kicker, you’ve come to the right place! Whether you’re looking to fix some wrinkles and ripples in your carpet or you’re tackling a full installation, using a knee kicker is a handy tool that can make the job a whole lot easier. In this article, we’ll walk you through the steps of stretching carpet with a knee kicker, so you can achieve smooth, professional-looking results in no time.
Now, I know what you’re thinking. “What on earth is a knee kicker?” Well, my friend, it’s not some fancy dance move or a new exercise gadget. A knee kicker is actually a nifty tool used in carpet installation to help stretch the carpet and secure it in place. It’s called a knee kicker because, well, you use your knee to kick it! But don’t worry, no actual kicking is involved. In this guide, we’ll break down the process of using a knee kicker into easy-to-follow steps, so you can stretch your carpet like a pro. So, let’s dive in and learn how to stretch carpet with a knee kicker!
- Start by removing any furniture or obstacles from the area where you need to stretch the carpet.
- Position the knee kicker about 6 inches from the wall and place your knee on the padded end.
- Use your other leg to forcefully kick the padded end of the knee kicker, pushing the carpet towards the wall.
- Repeat this process along the entire perimeter of the room, gradually stretching the carpet towards the walls.
- Once the carpet is stretched, use a carpet trimmer to trim away any excess material.
How to Stretch Carpet With a Knee Kicker?
Stretching carpet with a knee kicker is an essential skill for any homeowner or DIY enthusiast who wants to achieve a professional-looking carpet installation. A knee kicker is a tool that helps to stretch the carpet tightly across the room, eliminating wrinkles and creating a smooth and flat surface. In this article, we will guide you through the step-by-step process of stretching carpet with a knee kicker, ensuring that you achieve a flawless result.
What is a Knee Kicker?
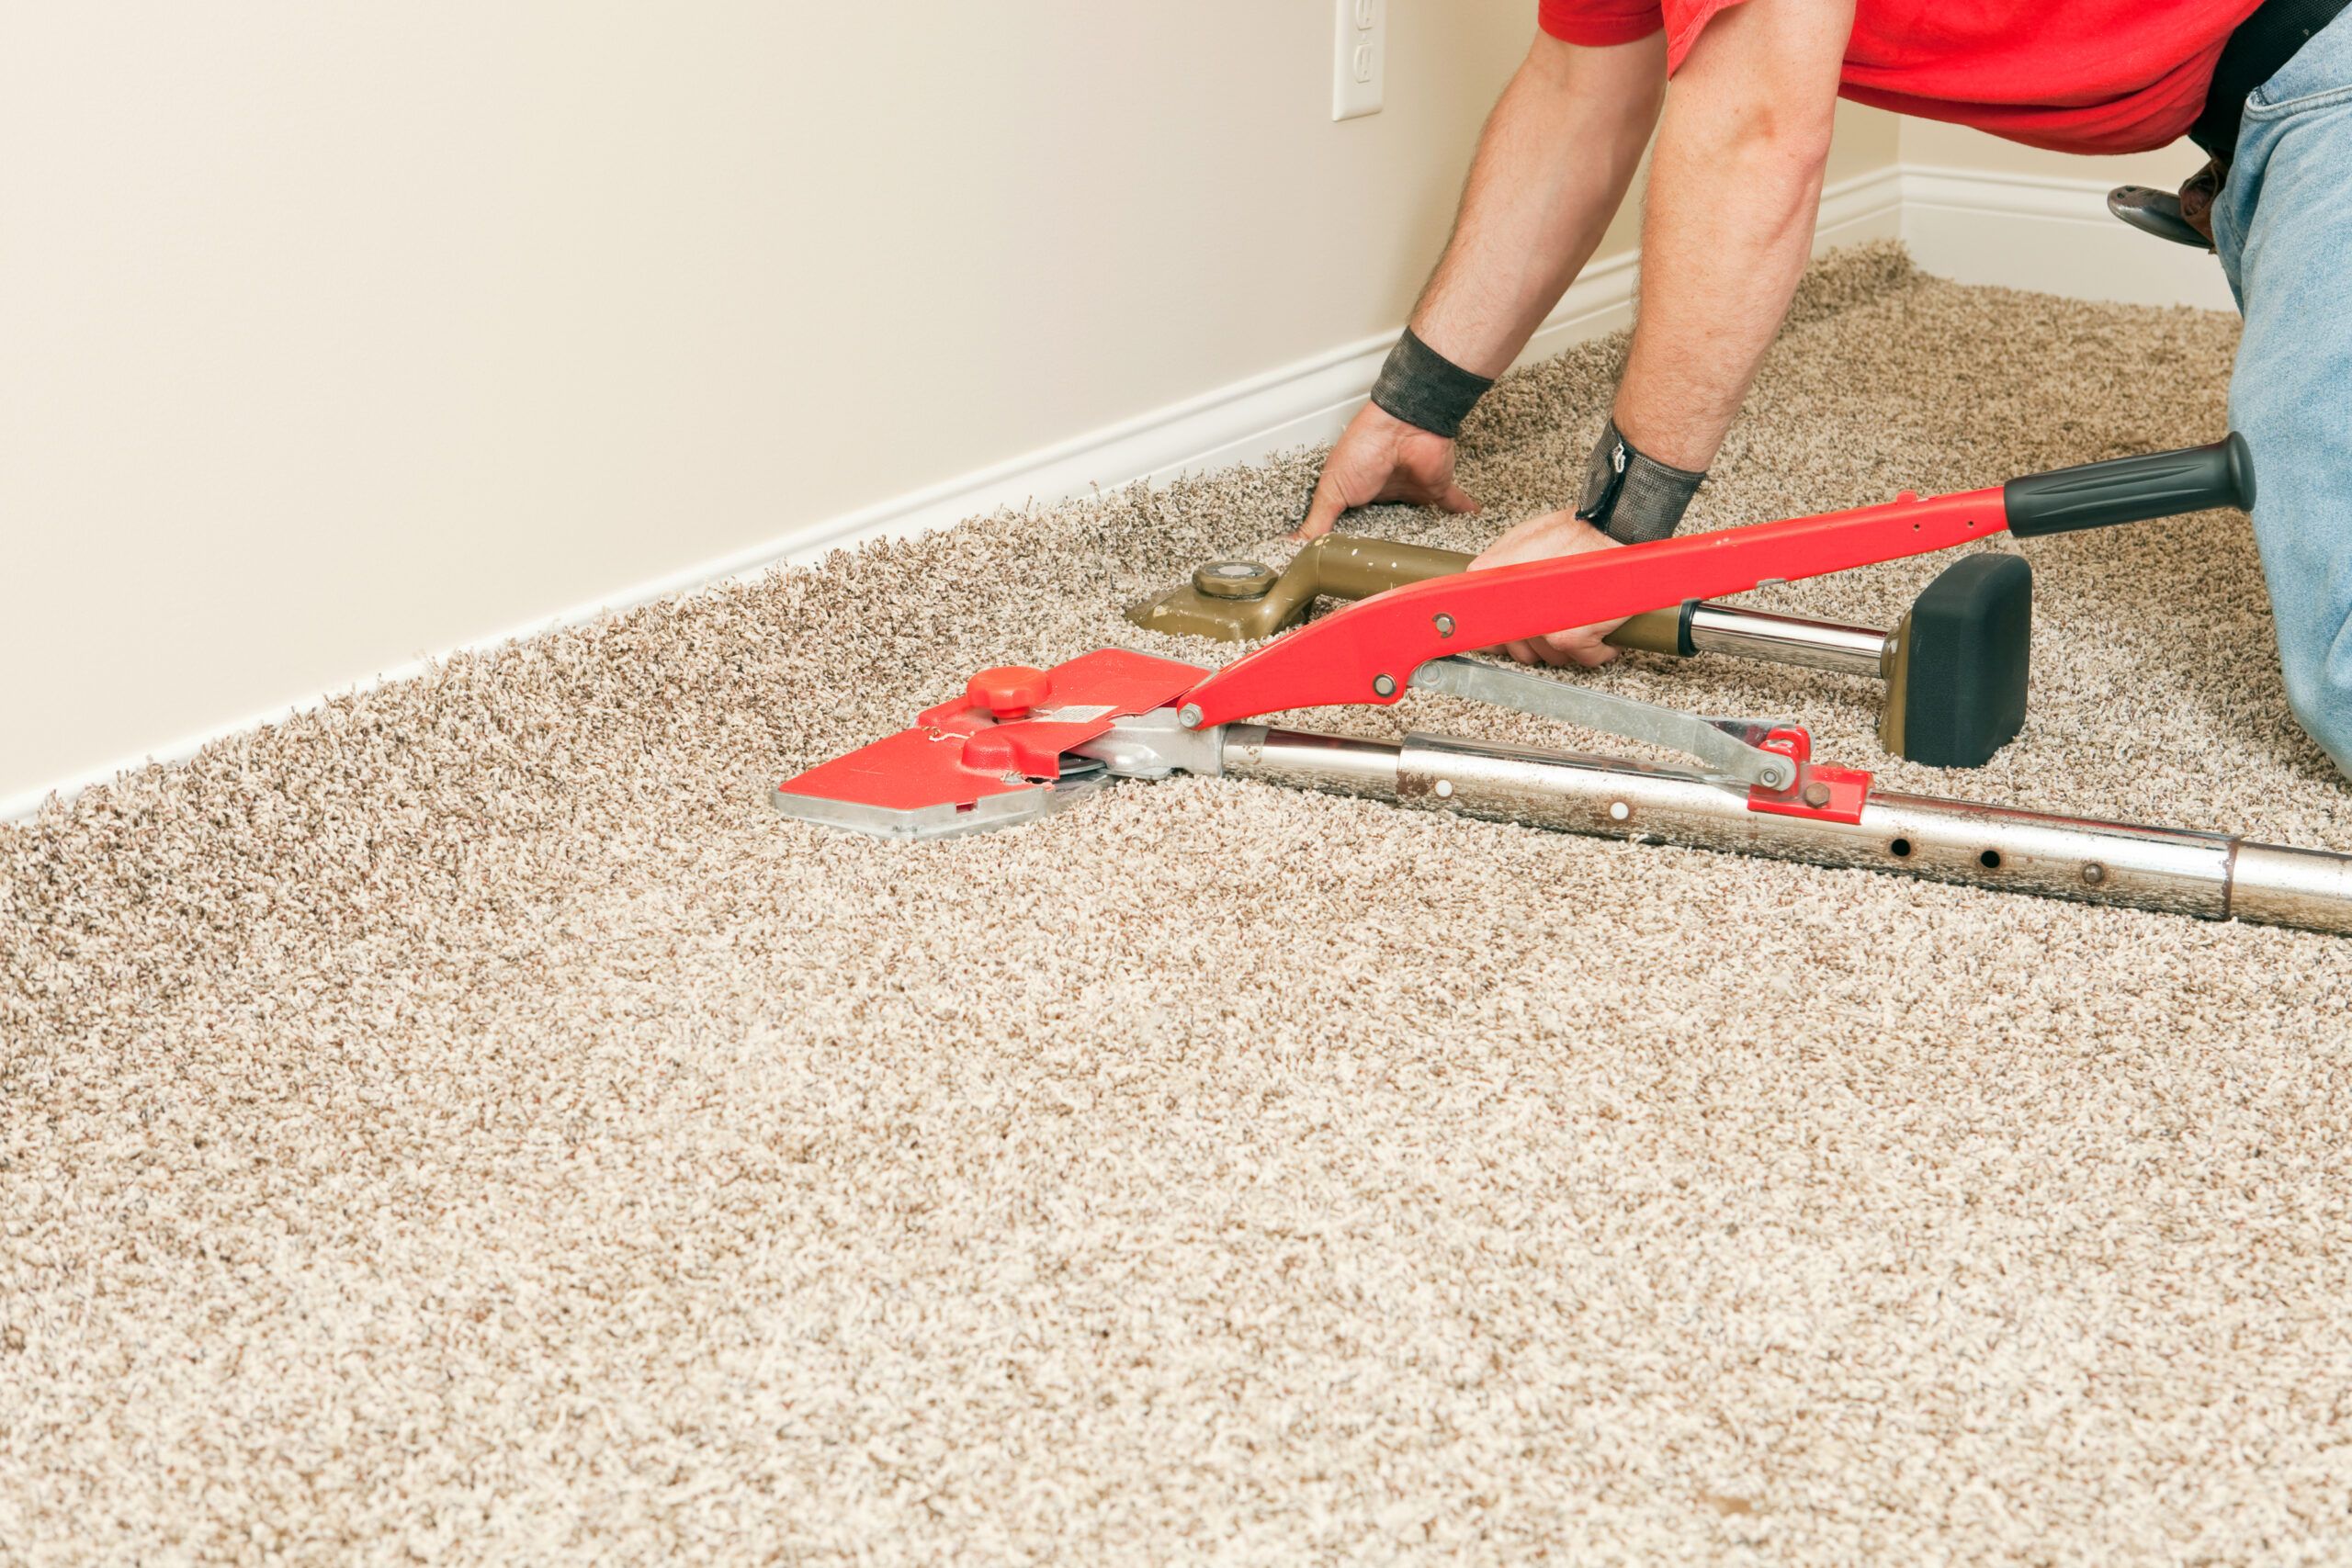
A knee kicker is a specialized tool designed to stretch carpet. It consists of a long handle with a padded head and a toothed gripper pad at the end. The gripper pad is positioned against the edge of the carpet, and by striking the padded head with your knee, the tool applies force to stretch the carpet towards the opposite wall. The teeth on the gripper pad grip the carpet to prevent it from slipping.
Using a knee kicker requires some practice and technique, but once you get the hang of it, you’ll be able to achieve professional-looking results. It’s important to note that a knee kicker is most effective for small- to medium-sized rooms. For larger areas, a power stretcher may be necessary.
Step-by-Step Guide: How to Stretch Carpet With a Knee Kicker
Step 1: Prepare the Room
Before you begin stretching the carpet, ensure that the room is cleared of furniture and any other obstacles. It’s also a good idea to thoroughly clean the floor to remove any debris or dust that may interfere with the stretching process. Additionally, make sure that the carpet is securely fastened to the tack strips along the edges of the room.
Step 2: Start in a Corner
Begin the stretching process in one corner of the room. Position the gripper pad of the knee kicker about six inches away from the wall, ensuring that it is aligned with the edge of the carpet. With your knee, strike the padded head of the knee kicker to engage the gripper pad and stretch the carpet towards the opposite wall.
Step 3: Stretch Along the Wall
Work your way along the wall, stretching the carpet with the knee kicker. Use a smooth and controlled motion, striking the padded head with your knee to gradually stretch the carpet and eliminate any wrinkles or slack. Be sure to keep the carpet aligned with the wall and maintain an even tension throughout the stretching process.
Step 4: Secure the Stretched Carpet
Once you have stretched the carpet across the room, secure it to the tack strip along the opposite wall. Use a carpet stretcher or a knee kicker with a carpet stretcher attachment to hook the carpet over the tack strip and create a tight and secure fit. Repeat this process along all edges of the room, ensuring that the carpet is properly stretched and secured.
Step 5: Trim Excess Carpet
After the carpet is stretched and secured, trim any excess carpet along the edges using a utility knife. Cut the carpet close to the baseboard, leaving a small gap for expansion. Take care not to cut into the baseboard or damage the carpet fibers.
Benefits of Stretching Carpet With a Knee Kicker
Stretching carpet with a knee kicker offers several benefits. Firstly, it helps to eliminate wrinkles, bulges, and slack in the carpet, resulting in a smooth and flat surface. This not only improves the appearance of the carpet but also prolongs its lifespan by reducing wear and tear. Additionally, stretching the carpet tightly prevents tripping hazards and ensures a safe and secure flooring surface.
Tips for Successful Carpet Stretching
To achieve the best results when stretching carpet with a knee kicker, keep the following tips in mind:
1. Start in a corner and work your way across the room, stretching the carpet in small sections.
2. Use a knee kicker with a padded head to protect your knee while applying force.
3. Maintain even tension throughout the stretching process to avoid overstretching or creating uneven areas.
4. Check the carpet for wrinkles or slack as you go along and make any necessary adjustments.
5. Secure the carpet tightly to the tack strip along all edges to ensure a secure fit.
6. Trim any excess carpet along the edges, leaving a small gap for expansion.
By following these tips and mastering the technique of stretching carpet with a knee kicker, you’ll be able to achieve a professional-looking carpet installation that will enhance the beauty and comfort of your home. Remember to practice and take your time to perfect your skills, and soon you’ll be able to tackle any carpet stretching project with confidence.
Key Takeaways: How to Stretch Carpet With a Knee Kicker?
- Position the knee kicker about 6 inches from the wall.
- Use your knee to push the kicker into the carpet, creating tension.
- Hit the padded end of the knee kicker with a hammer to secure the carpet.
- Move along the wall, repeating the process until the carpet is stretched evenly.
- Trim excess carpet and secure it with a carpet trimmer.
Frequently Asked Questions
What is a knee kicker and how does it work?
A knee kicker is a tool used in carpet installation to stretch the carpet and secure it in place. It consists of a long handle with a padded end and a toothed gripper plate at the bottom. To use a knee kicker, you position the gripper plate against the edge of the carpet and use your knee to push the handle, which stretches the carpet and hooks it onto the tack strip.
The knee kicker works by leveraging your body weight to create tension in the carpet, allowing you to pull it tight and eliminate any wrinkles or slack. It is an essential tool for achieving a smooth and professional-looking carpet installation.
What are the steps to stretch carpet with a knee kicker?
1. Start by removing any furniture or objects from the area where you will be working. Clearing the space will give you more room to maneuver the knee kicker.
2. Measure and cut your carpet to the appropriate size, leaving a few inches of excess on all sides.
3. Position the carpet in the desired location and align one edge with the wall. Use a carpet stretcher or your hands to temporarily secure the opposite edge.
4. Place the gripper plate of the knee kicker against the edge of the carpet near the wall. Make sure the teeth are facing the carpet.
5. Use your knee to push the handle of the knee kicker, applying pressure to stretch the carpet towards the opposite wall. Repeat this process along the entire edge, pulling the carpet tight and hooking it onto the tack strip.
6. Once the first edge is secured, repeat the process for the remaining edges, making sure to stretch the carpet evenly and eliminate any wrinkles or slack.
Are there any tips for using a knee kicker effectively?
1. It’s important to wear knee pads when using a knee kicker, as the repeated pressure can cause discomfort or strain.
2. Start in the middle of the carpet and work your way towards the edges. This will help distribute the tension evenly and prevent the carpet from bunching up in one area.
3. Use a carpet stretcher in conjunction with the knee kicker for larger areas or when dealing with particularly stubborn carpet.
4. Take breaks as needed to rest your knee and avoid overexertion.
5. Practice proper technique to avoid injury. Always use your knee and not your foot to apply pressure to the knee kicker, and maintain a steady and controlled motion.
Can I stretch carpet without a knee kicker?
While a knee kicker is the most common tool used for stretching carpet, it is possible to stretch carpet without one. Alternative methods include using a carpet stretcher, which is a larger and more advanced tool, or using your hands to manually pull and stretch the carpet. However, these methods may require more effort and skill, and may not achieve the same level of professional results as using a knee kicker.
If you are considering stretching carpet without a knee kicker, it is advisable to consult professional carpet installers or watch instructional videos to ensure you are using the correct techniques and tools.
What are the benefits of using a knee kicker to stretch carpet?
Using a knee kicker to stretch carpet offers several benefits:
1. Ease of use: Knee kickers are relatively simple tools that can be easily operated by homeowners or DIY enthusiasts without extensive training.
2. Cost-effective: Knee kickers are affordable compared to larger carpet stretching tools, making them a budget-friendly option for small-scale carpet installations or repairs.
3. Versatility: Knee kickers can be used on a variety of carpet types, including loop pile, cut pile, and berber.
4. Time-saving: With a knee kicker, you can quickly and efficiently stretch the carpet, reducing the overall installation time.
5. Professional results: When used correctly, a knee kicker can help achieve a smooth and wrinkle-free carpet installation, giving your space a polished and professional look.
Carpet Knee Kicker How To Use
Final Thoughts
Now that you know how to stretch carpet with a knee kicker, you can say goodbye to those annoying wrinkles and lumps. By following the steps outlined in this guide, you’ll be able to achieve a smooth and professional-looking carpet installation right in your own home.
Remember, the key to successfully using a knee kicker is to start in the center and work your way outwards, using consistent force and ensuring that the carpet is properly stretched and secured along the edges. This technique will not only improve the appearance of your carpet but also extend its lifespan by preventing wear and tear.
So go ahead and give it a try! With a little practice, you’ll become a pro at stretching carpet with a knee kicker. Say goodbye to tripping hazards and unsightly bumps, and hello to a beautifully installed carpet that will make your home feel cozy and inviting. Enjoy the satisfaction of a job well done and revel in the comfort of your newly stretched carpet. Happy stretching!